
Microneedling at home
At-home microneedling has become an increasingly popular skincare practice for those looking to improve skin texture, boost radiance, and support collagen production from the comfort of their own home. When done correctly, it can be a powerful addition to a consistent skincare routine, helping enhance product absorption and promote healthier-looking skin over time.
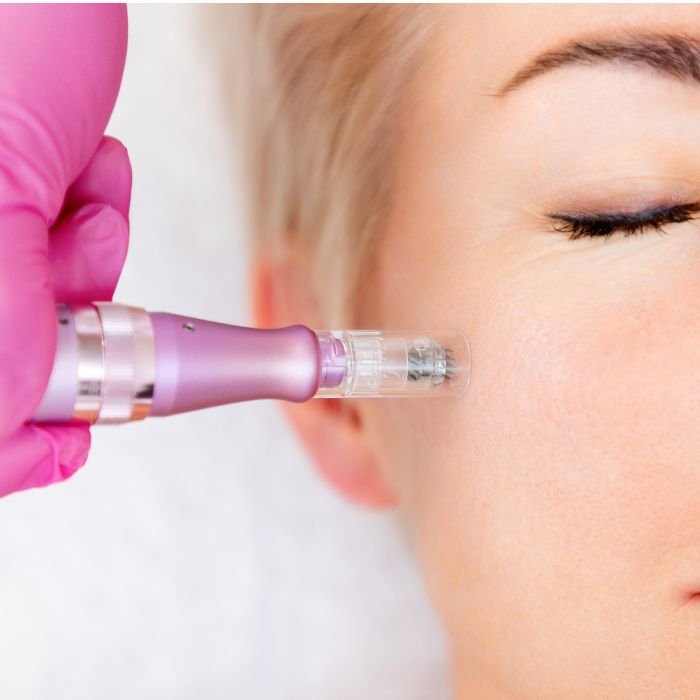
Microneedling works by creating tiny, controlled microchannels in the skin using fine needles. These micro-injuries stimulate the skin’s natural repair process, encouraging collagen and elastin production—key components for smooth, firm, and youthful skin. At home, microneedling is performed using shorter needle lengths designed to prioritize safety while still delivering visible benefits.
Despite its accessibility, at-home microneedling requires proper education and care. Incorrect technique, poor sanitation, or unrealistic expectations can lead to irritation or damage. This ebook, Microneedling 101, is designed to give you a clear understanding of how at-home microneedling works, who it is suitable for, and how to practice it safely and effectively.
Microneedling step-by-step

1.Cleanse Your Skin Thoroughly
Start with freshly cleansed skin. Use a gentle, non-active cleanser to remove makeup, oil, and impurities. Pat the skin completely dry with a clean towel.
Good Gentle Cleanser to try:
Cetaphil Face Wash – Enriched with glycerin, panthenol (B5), niacinamide (B3) to hydrate, protect, and support a healthy skin barrier. 13$ (Amazon)
Neutrogena Face Wash- Hypoallergenic, fragrance free, and soap free formula is safe for sensitive skin. 6$ (Amazon)
THAYERS Milky Cleanser- The hydrating cleanser is non-drying, non-irritating, and non-tightening. 13$ (Amazon)
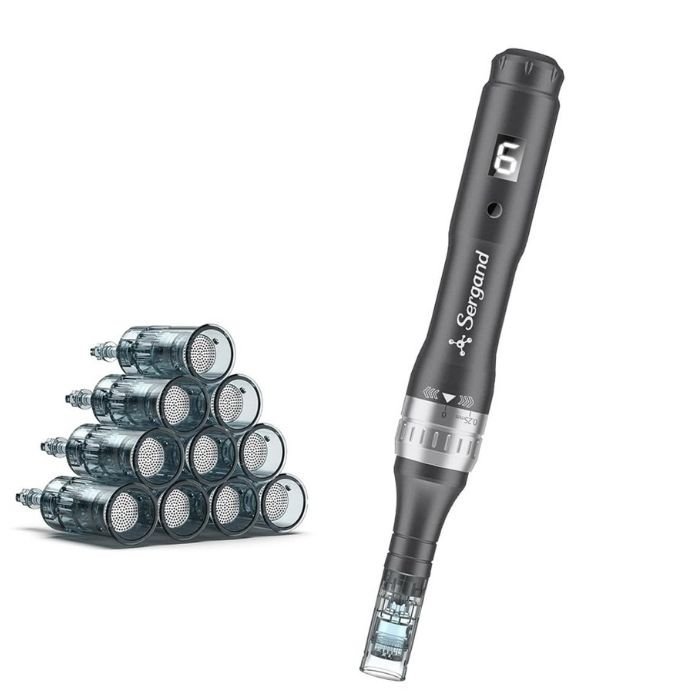
2. Sanitize Your Microneedling Tool
Disinfect your derma roller or microneedling device by cleaning it with 70% isopropyl alcohol. Allow it to air dry on a clean surface before use. Always use gloves.

You can get microneedling pen here:
0.25mm Microneedling pen (Amazon 99$)
Microneedle Roller Pen for Home Use (Amazon 119$)
3. Apply serum
Microneedling temporarily creates tiny channels in your skin, making it more receptive to active ingredients. Choosing the right serums can make a real difference in how your skin responds and recovers. But not all serums are created equal—some are perfect for post-microneedling care, while others are best avoided right after treatment.
Below, we’ll explore popular categories of serums and explain why they work—or why they’re better saved for later.
Hyaluronic Acid – Hydration Hero
What it is: A naturally occurring molecule that attracts and holds onto moisture.
Why it’s great after microneedling: Immediately replenishes hydration and helps calm the skin.

Hyaluronic Acid serums:
Ultra Hyaluronic Acid Serum–8 HA (60.99$ Amazon)
Glov Beauty Micro Infusion serum (69$ Amazon)
Peptides Serums – Repair & Support
What they are: Short chains of amino acids that help communicate with skin cells.
Why they’re great: Peptides support the skin’s structural proteins, aiding firmness and recovery.
Benefits:
- Encourages collagen support
- Helps with elasticity
- Calming and restorative
Tip: Choose peptide serums formulated for sensitive skin and without strong actives.
Peptide serums:
XY Professional EGF Peptide serum (69$ Amazon)
BeFabLuxx Hydration Infusion Serum Kit Collagen Peptides (45$ Amazon)
Stem Cell Serums
Stem cell serums are a trending skincare ingredient often paired with microneedling.
- Despite the name, most skincare “stem cell serums” don’t contain human stem cells. Instead, they typically use plant-derived stem cell extracts (like apple, grape, or argan stem cells) or stem cell-inspired peptides. These ingredients are designed to deliver regenerative cues to skin cells without the complexity of actual human stem cell therapy.
Stem cell serum:
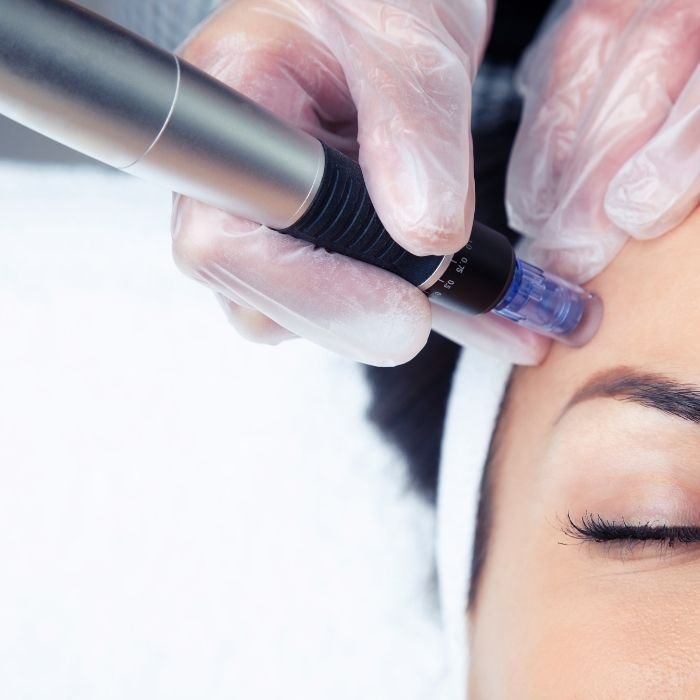
4. Start microneedling
Using light pressure, gently roll or glide the device over the skin in one direction at a time—vertical, horizontal, and diagonal if appropriate.
- Avoid dragging or pressing too hard
- Do not microneedle active acne, irritated, or broken skin
- Keep movements controlled and slow
Microneedling should take only a few minutes per area. Over-treating the skin can cause irritation and delay healing.
At-home microneedling should be done no more than every 1–4 weeks, depending on needle length and skin sensitivity. Giving the skin time to heal is essential for results.

When you should not microneedle
While microneedling can be beneficial when done correctly, it is not suitable for everyone or every situation. Microneedling on compromised skin or certain medical conditions can increase the risk of irritation, infection, or delayed healing.
Do NOT Microneedle If You Have:
- Active acne, cysts, or inflamed breakouts
- Open wounds, cuts, or broken skin- Treating damaged skin increases the risk of infection and scarring.
- Active skin infections- bacterial, viral, or fungal infections such as cold sores, warts, or impetigo.
- Severe skin irritation or sunburn
- Eczema, psoriasis, or rosacea flare-ups
- Recent chemical peels, laser treatments, or aggressive exfoliation
Who Should Avoid Microneedling or Consult a Professional First:
- Pregnant or breastfeeding individuals-While microneedling itself may be safe, post-treatment products and skin sensitivity may not be.
- People with bleeding disorders or on blood-thinning medications-Increased bleeding and delayed healing may occur.
- Those with a history of keloid or hypertrophic scarring-Microneedling may increase the risk of abnormal scar formation.
- Individuals with autoimmune skin conditions- Healing responses may be unpredictable.
- Anyone undergoing chemotherapy or immune-suppressing treatments- Skin healing may be compromised.
- Those with very sensitive or reactive skin- A professional consultation is recommended before attempting at-home microneedling.
If you are unsure whether microneedling is appropriate for your skin, consult a licensed dermatologist or skincare professional before starting.
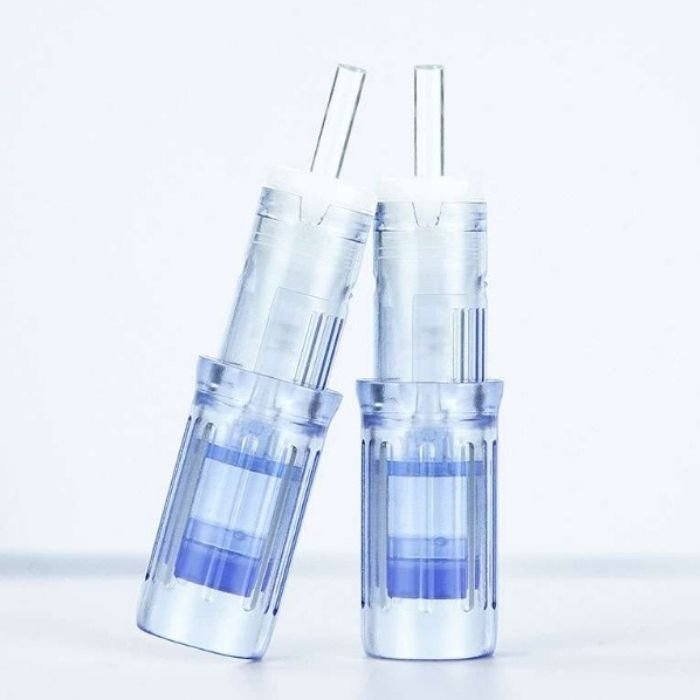
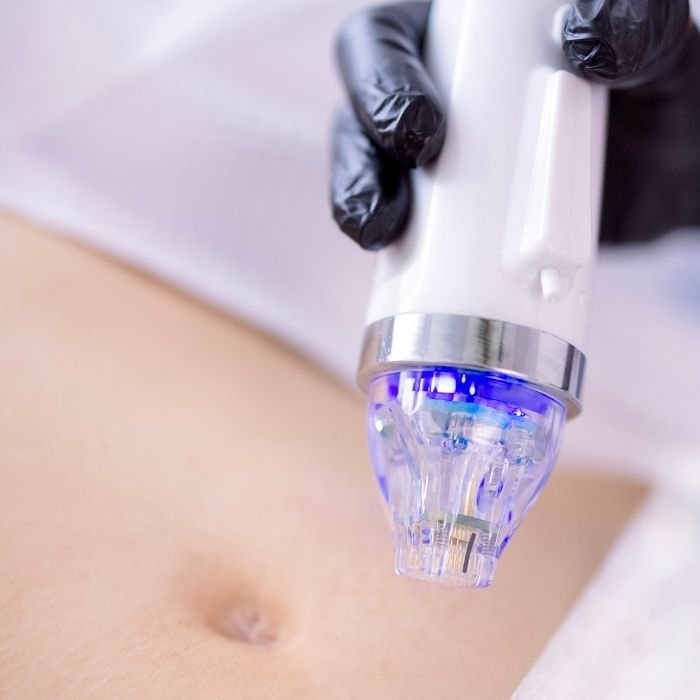
Microneedling Cartridge Sizes and Their Uses- Choosing the correct cartridge is essential for achieving results while minimizing the risk of irritation or injury—especially when microneedling at home.
1–12 Needle Cartridges
- Used for targeted treatments and precision work
- Best for small areas, fine lines, or individual scars
- Allows more control but requires advanced technique
24–36 Needle Cartridges
- Common for general facial treatments
- Provides even coverage and efficient collagen stimulation
- Ideal for beginners using low needle depths
42+ Needle Cartridges
- Designed for faster coverage over larger areas
- Best suited for professional use
- Not recommended for beginners or at-home microneedling
Needle Length (Depth)
0.25 mm
Enhances product absorption
Improves hydration and glow
Suitable for frequent use (every 1–2 weeks)
Ideal for beginners
0.5 mm
Stimulates mild collagen production
Helps with fine lines and uneven texture
Requires longer healing time (every 3–4 weeks)
0.75 mm
Targets moderate texture concerns and early scarring
Should be used cautiously at home
Best for experienced users only
1.0 mm and above
Designed for deeper collagen induction
Increased risk of bleeding and irritation
Strongly recommended for professional treatments only

✅ Start with lower needle lengths
✅ Use 24–36 needle cartridges for even coverage
✅ Avoid deep needle settings and aggressive techniques
✅ Use sterile, single-use cartridges whenever possible
AFTERCARE 0 TO 24H
- Do not touch your face unnecessarily
- Avoid makeup for at least 24 hours
- Use gentle, hydrating products only
- Avoid active ingredients
- Do not use retinol, exfoliating acids (AHAs/BHAs), vitamin C, or benzoyl peroxide.
- Avoid heat and sweating
- Avoid direct sun exposure for 48–72 hours
- Apply sunscreen once skin has calmed
- Use a broad-spectrum SPF 30 or higher, preferably mineral-based.

AFTERCARE 3 TO 7 DAYS
- Cleanse gently
- Use a mild, fragrance-free cleanser.
- Moisturize consistently
- Keep the skin hydrated to support barrier repair.
- Avoid exfoliation
- No scrubs, brushes, or chemical exfoliants.
- Let the skin heal naturally
- Mild redness or tightness is normal; do not pick or scratch.
When to Resume Active Skincare
- Vitamin C: After 48–72 hours (if no irritation is present)
- Retinol: After 5–7 days or once the skin feels fully healed
- Exfoliants: After 7 days minimum
Signs to Watch For
Stop microneedling and seek professional advice if you experience:
- Severe swelling or pain
- Signs of infection (pus, increasing redness, heat)
- Prolonged irritation lasting more than several days